
 Launch
Creating and submitting expenses
From your Personal workspace you can access your Expenses mini-worskpace, just under your leaves tracker.
Create, submit and check the status of all your expenses across all client projects and organizations.
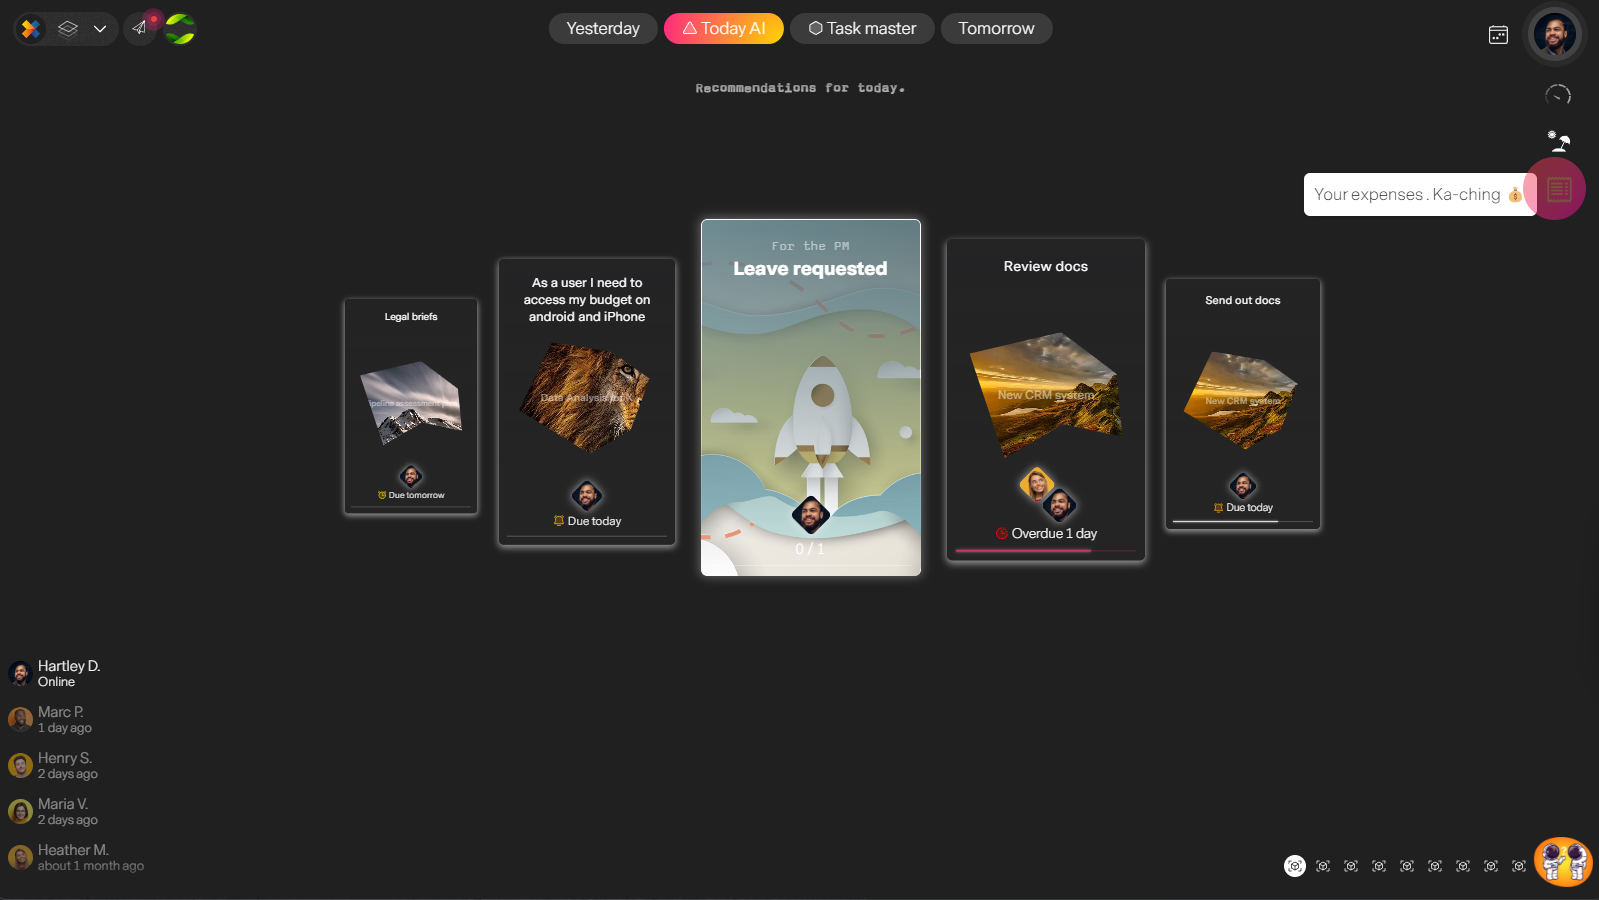
Managing your expenses
From your expenses mini-workspace...
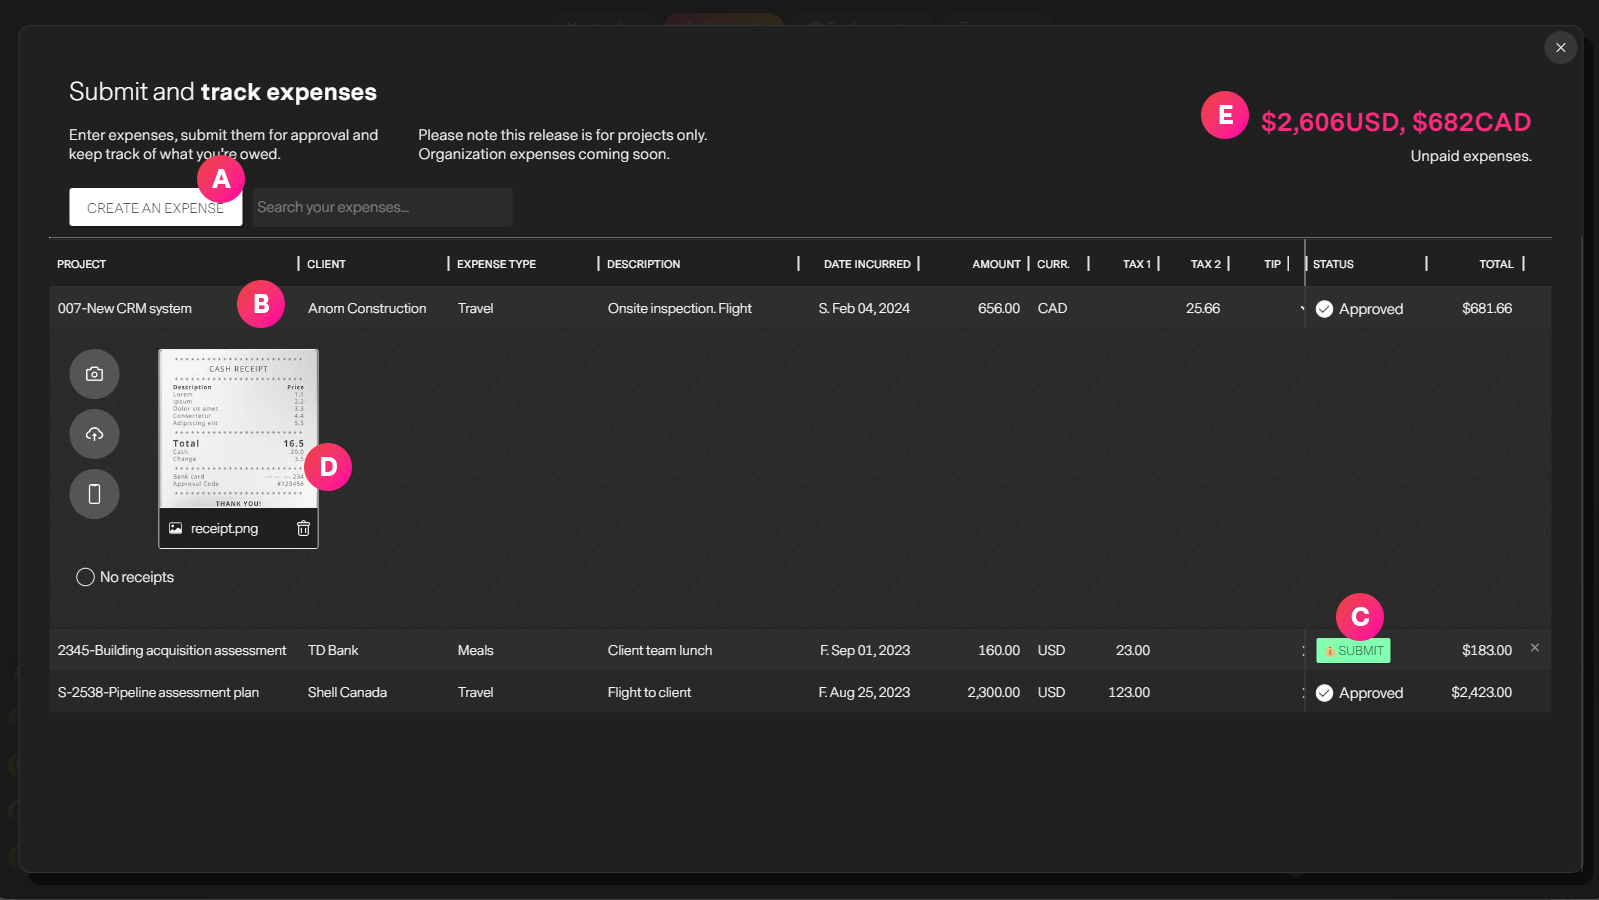
| Label | Feature | Description |
| A | Create a new expense | You will be asked to select a project to charge your expense to and then the expense will be created. |
| B | Expense details | Once created, you can select the code/reason, enter amount and change dates. |
| C | Submit and track status | Submit your expenses and once submitted track status approved, rejected or "paid" |
| D | Receipts | Attaching receipts can be done by uploading a file or taking an image directly from a webcam or phone. You can also declare "No receipts" by checking the box. |
Attach receipts
Adding receipts to your expenses simplifies the approval process and invoicing.
You can upload, take a pic, or use your phone to attch receipts.
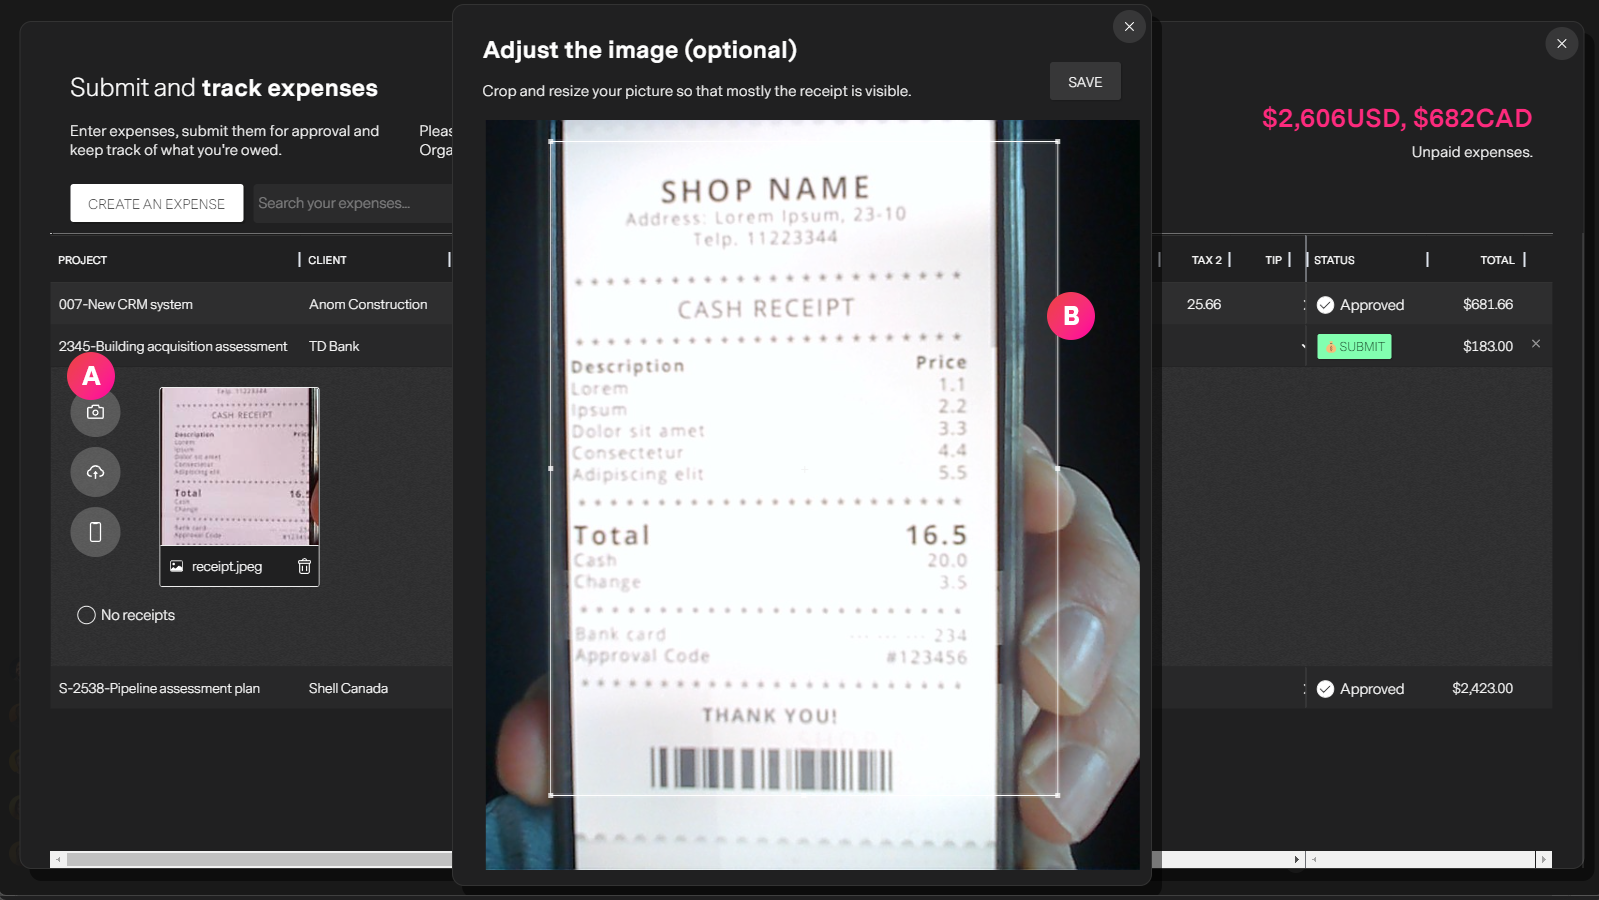
| Label | Feature | Description |
| A | Attach using a webcam | Take an image of your receipt if you have a webcam or upload an image from your file system. |
| B | Edit image | You can crop and resize the images you take from your webcam as you wish so that only the receipt is shown. |
Next steps
Approving expenses by the project manager and organization admin